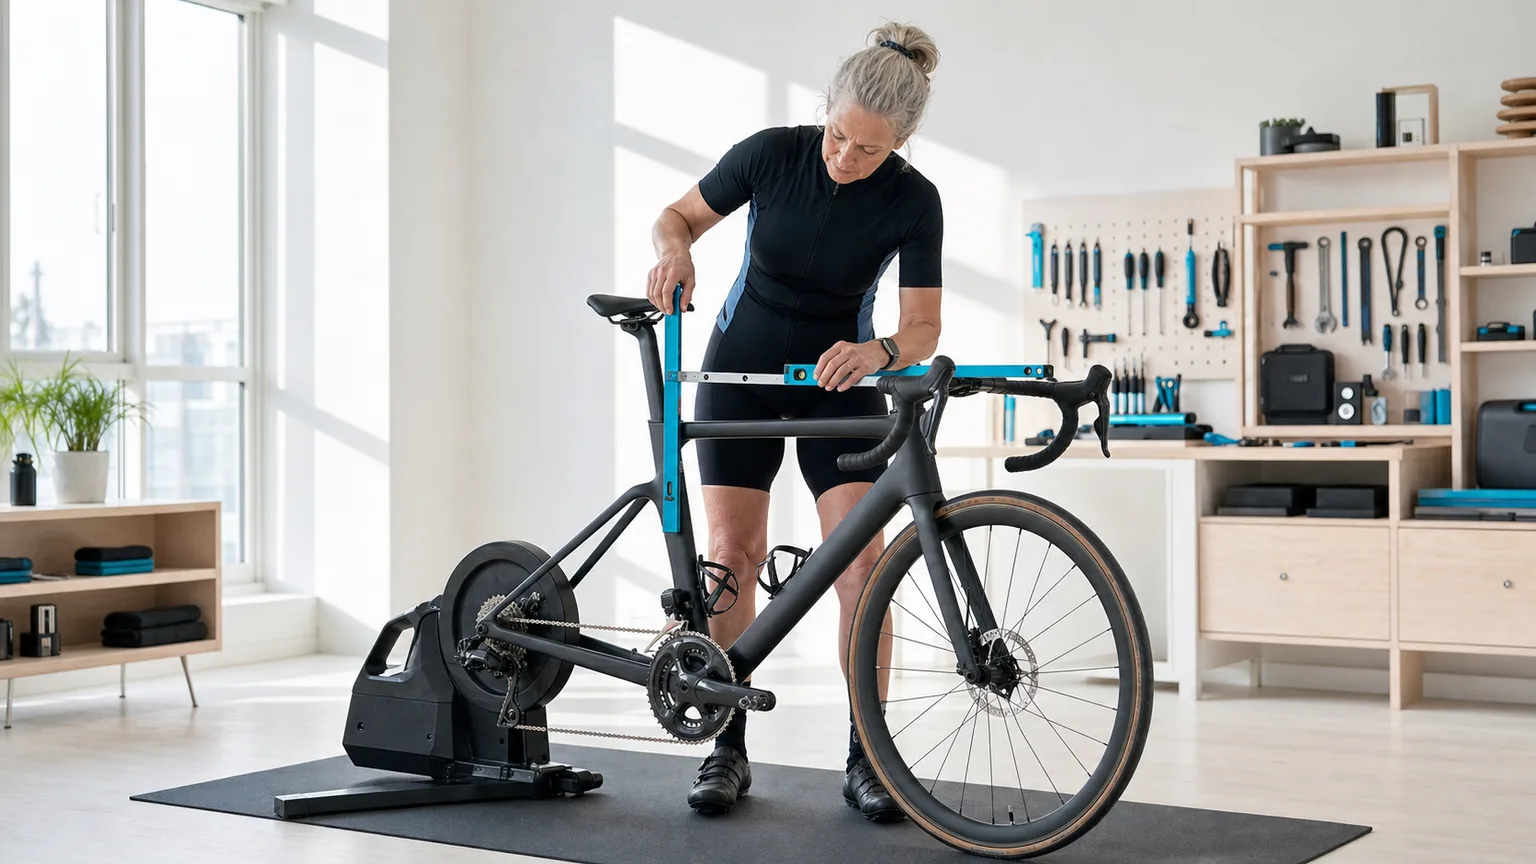
Shortlist frames, solve the cockpit, measure the real bike
Start from one physically measured bar-clamp target relative to the bottom bracket. Compare two to four exact frame sizes, rank the stems and spacer stacks you can actually source, freeze one qualified-mechanic build and verify the installed Bar X/Y after riding. The result is a reproducible transfer record—not a fit score, size prescription or compatibility promise.
Free·No account·Nothing uploaded
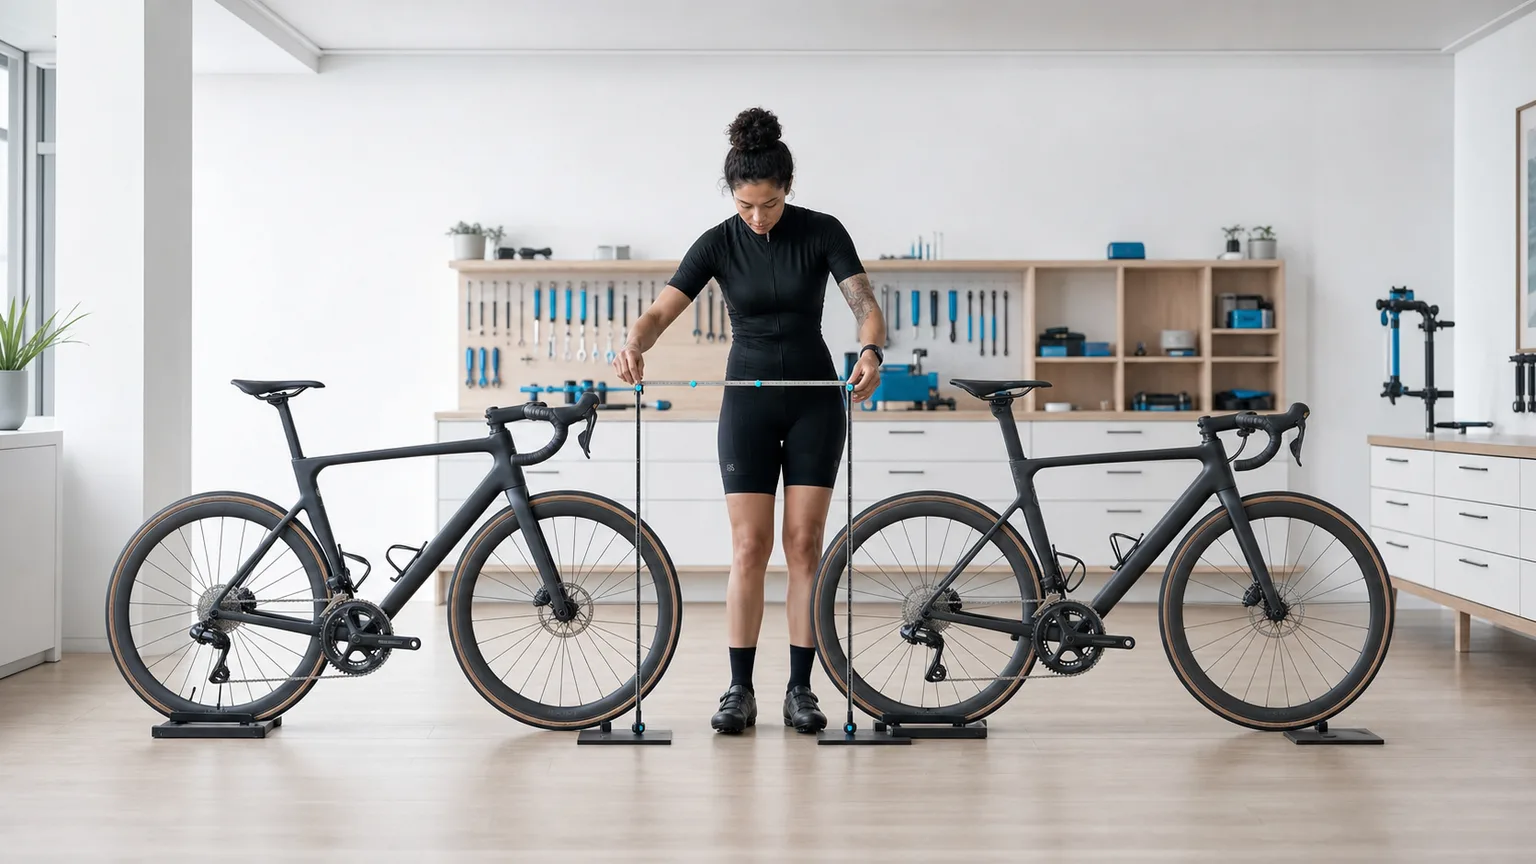
Two bicycles, one coordinate language
Compare complete positions before interpreting frame labels
A useful comparison keeps both bikes level and reads the same physical references. The visible differences are geometry context, not proof that either bicycle fits a particular rider.
Frame Transfer Studio
From shortlist to a measured bike
Compare 2–4 frames against one measured Bar X/Y target and your declared stem/spacer options. Review the whole modeled shortlist without a saved bike; separately, a saved bike can own one frozen build, repeated installed coordinates and a ride report.
1. Target
2. Shortlist
3. Build
4. Re-check
Need only a quick two-frame stack/reach comparison?
The original geometry-only mode remains available. It compares two published head-tube coordinates and does not create a component build or local transfer plan.
Frame coordinates
Compare two bikes
Your signed differences will appear here.
Enter the published stack and reach for both bikes. We will keep the raw millimetres visible and show which direction the candidate moves.
Freeze a reproducible baseline
A saved coordinate is only as useful as its reference
Record the leveling method, physical datum and measurement direction with the number. That makes a later comparison reproducible instead of turning a geometry table into a fit verdict.
The coordinates
What stack and reach actually measure
Stack is the vertical distance from the centre of the bottom bracket to the top-centre reference point of the head tube. More stack places that frame point higher. With the same fork, headset, spacers, stem and handlebar, it can support a more upright front-end starting point; less stack starts lower.
Reach is the horizontal distance between those same bottom-bracket and head-tube reference lines. More reach starts the front of the frame farther forward; less reach starts it closer. Because both measurements use the bottom bracket as their origin, they compare frames more consistently than top-tube length alone.
Before you compare
Use equivalent geometry-chart numbers
1. Match the intended build. Suspension fork length and sag can change a mountain bike's published or effective coordinates. Compare like with like.
2. Check the manufacturer convention. Some charts include headset parts or use a specific fork. Use the same fork, headset and spacer convention wherever the source makes it available.
3. Copy the exact size. Model names are not enough: stack and reach can change substantially between sizes and model years.
4. Keep units consistent. This tool accepts millimetres and preserves one decimal place in the result.
Important limit
Frame geometry is not your complete riding position
Stack and reach stop at the frame's head-tube reference point. They do not include headset top caps or spacers, stem length and angle, handlebar reach or rise, hood position, saddle height and setback, crank length, shoe and cleat position, suspension sag, or the contact points your hands and pelvis actually use.
That is why identical frame coordinates can still produce different positions, and different frames can sometimes be configured to similar contact points. This comparator deliberately does not estimate torso or arm suitability, prescribe a size, calculate an “ideal” coordinate, or turn millimetres into a fit score. Use it to understand the frame delta and decide which physical measurements to compare next.
Turn the result into a useful next check
Buying another bike
Start with the raw frame delta, then ask for the complete cockpit specification. A 10 mm reach difference does not necessarily place the bars 10 mm farther from the saddle.
Comparing two sizes
Check both axes together, then compare standover, seat-tube limits, wheelbase and the stem each size would require. Do not choose from one coordinate alone.
Transferring a setup
Measure saddle and handlebar contact points from a repeatable datum. Frame stack and reach are context for that transfer, not substitutes for those measurements.
Continue from frame numbers to your setup
Use the full calculator for a cautious starting range based on your measurements, or review how OpenBikeFit labels evidence, conventions and limitations. If pain is sudden, severe, progressive or persistent, stop self-adjustment and seek an appropriate professional assessment.